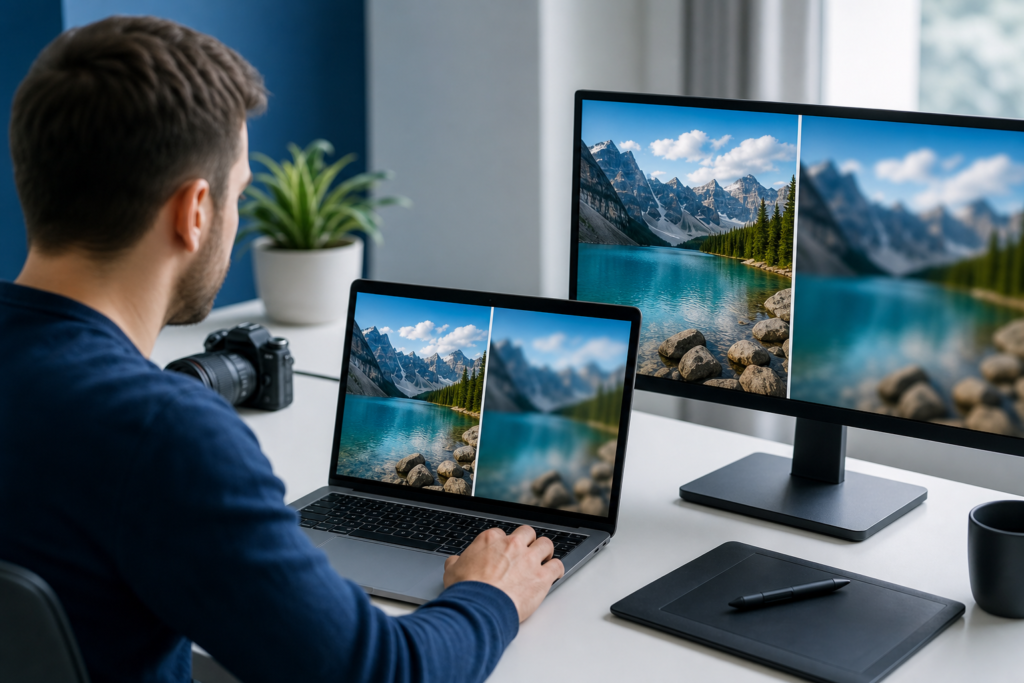
When images look blurry after resizing, the problem is usually not the resize action itself. It is often caused by stretching a file beyond its original quality, using the wrong dimensions, compressing too aggressively, or saving in a format that does not preserve enough detail.
This issue shows up everywhere: website banners, product photos, social media graphics, email headers, presentations, and app interfaces. A crisp image can become soft or pixelated if it is resized without paying attention to source quality, aspect ratio, and output format. The good news is that most blurry-resize problems are preventable.
In this guide, you will learn why images lose sharpness after resizing, how to diagnose the most common causes, and what to do to keep your visuals clean and professional. If you manage website media regularly, you may also find it useful to review how to resize images for web, social media, and email so your output matches each channel correctly.
Why images look blurry after resizing
Image quality depends on the number of pixels available and how those pixels are displayed. When you resize a file, you are changing the way those pixels are used. If the new size asks for more detail than the original image contains, the software has to guess what should fill the gaps. That is when sharp edges begin to look soft.
There are two broad situations:
- Downsizing: reducing the image dimensions. This can still look blurry if the file is then displayed larger than intended.
- Upsizing: enlarging the image. This is the most common reason images look blurry after resizing, because the software must invent extra pixel data.
Blurriness can also come from repeated saving, low-quality source files, or compression applied before and after resizing. In other words, the issue is often a chain of small quality losses, not one single mistake.
Common causes of blurry images after resizing
1. The original image is too small
If the source file has low resolution, enlarging it will almost always reduce clarity. A small image that looks fine as a thumbnail can become visibly soft when used as a banner, hero section, or full-width product photo.
A simple rule: the bigger the intended display size, the better the original file should be. Start with the highest-quality version available whenever possible.
2. The aspect ratio was changed
Aspect ratio is the relationship between width and height. If you force an image into a shape that does not match the original, it can appear stretched, compressed, or distorted. Distortion is sometimes mistaken for blur because the image no longer looks natural.
To avoid this, keep the original proportions and crop rather than stretch when you need a different format.
3. The image was enlarged too much
Upscaling is one of the most common reasons images look blurry after resizing. Software can smooth the result, but it cannot create real detail that was never captured.
For example, a small square image may look acceptable at 200 by 200 pixels, but if you enlarge it several times for a web header, the edges will often become soft and pixelated.
4. The wrong interpolation method was used
Many editing tools use interpolation to calculate new pixels during resizing. Some methods prioritize sharp edges, while others prioritize smooth transitions. The wrong choice for your use case can make the final image look muddy or overly soft.
For photographic images, a balanced interpolation method usually works well. For graphics, logos, and text-based visuals, you need more careful handling because crisp edges matter more than smooth tonal transitions.
5. Compression was applied too aggressively
Compression reduces file size, but too much compression removes visible detail. This is especially noticeable in JPG files, where fine texture, gradients, and sharp lines can become smeared or blocky.
If the image was already resized and then compressed heavily, the quality loss can stack quickly. This is why it helps to understand how image compression affects page speed and quality before choosing settings for web use.
6. The file format is not suitable for the content
Different image formats handle detail differently. JPG is often efficient for photos, PNG is better for transparency and sharp graphics, and WebP can be a strong option for modern web delivery depending on the use case. A poor format choice can make a resized image look less crisp than it should.
If you are unsure which format to use, compare the strengths of each before exporting. A useful starting point is choosing the best image format for your website.
7. The image is being displayed at a different size than its actual dimensions
This happens often on websites. An image file may be uploaded at one size, then CSS or a theme setting forces it to display larger. The browser stretches the image to fit, and the result is softness or blur.
For best results, match the uploaded dimensions as closely as possible to the display size. This is especially important for hero banners, featured images, and product galleries.
8. The image has been saved multiple times
Every time an image is opened, edited, and re-saved in a lossy format, some detail may be lost. After several rounds of editing, even a good file can begin to look noticeably worse.
Work from the original master file whenever possible, and export a fresh copy for each use case instead of editing the same compressed file repeatedly.
How to fix blurry images after resizing
Start with a higher-resolution source
The most effective fix is often the simplest one: use a larger, sharper original. If you need an image for a web banner, social post, or email header, begin with a file that has enough detail for the final display size.
When possible, keep an unedited master version in a lossless or high-quality format so you can create new exports without compounding quality loss.
Resize proportionally
Always preserve the original aspect ratio unless you intentionally want a crop. Proportional resizing keeps the image natural and avoids the kind of distortion that can make edges look wrong.
If a layout requires a different shape, crop the image first, then resize it. That usually gives a cleaner result than forcing a stretch.
Export at the right final dimensions
Design the image for its intended destination. A file meant for a 1200-pixel-wide website hero should be exported near that size rather than much smaller. A file intended for a thumbnail does not need to be oversized.
This reduces the chance that the browser, app, or platform will scale the image again in a way that damages quality.
Choose the right file format
Use the format that best matches the content:
- JPG for many photographs and complex color scenes.
- PNG for graphics, transparency, and sharper edge detail.
- WebP for efficient modern web delivery where supported.
For practical guidance on format selection, refer again to which image format is best for your website, especially if you are optimizing a content-heavy site.
Use compression carefully
Compression should reduce file size without making the image visibly worse. If you notice artifacts, banding, or softened detail, the file may be over-compressed.
A better workflow is to resize first, then compress lightly until the file is efficient but still visually clean. For image-heavy websites, this balance matters for both quality and speed.
Avoid enlarging small graphics
If a logo, chart, or icon is too small, do not simply drag it bigger. Recreate it in a larger size or use a vector version when available. This is especially important for text-heavy visuals, where blur becomes obvious very quickly.
For websites and content workflows, image preparation is part of broader quality control. A broader image SEO checklist for file names, alt text, size, and format can help you avoid both quality and visibility issues.
Check display settings on your website or app
If the image looks fine in your editor but blurry on the site, the issue may be in the layout rather than the file itself. Look for CSS stretching, responsive breakpoints, lazy-loading placeholders, or theme settings that resize images automatically.
In many cases, uploading the correct dimension and letting the platform serve it properly is enough to solve the issue.
Best practices to keep resized images sharp
| Problem | What it usually means | Better fix |
|---|---|---|
| Soft image after upsizing | Source file is too small | Use a larger original or recreate the asset |
| Stretched-looking image | Aspect ratio changed | Crop instead of stretching |
| Blocky or smeared details | Compression is too aggressive | Export with lighter compression |
| Blurry on website only | Display size does not match upload size | Match dimensions and review CSS |
| Text or logo looks fuzzy | Raster image is too small | Use larger artwork or vector source files |
These habits also make content production faster. When your team has a repeatable image workflow, you waste less time fixing poor uploads and more time publishing useful content.
When to use an online image tool
Online tools can be helpful when you need to resize, convert, or compress quickly without opening desktop software. They are especially useful for simple workflow tasks such as preparing blog images, email banners, or social media visuals.
The key is to use tools that keep the process straightforward and privacy-aware, and to avoid processing the same file too many times. If you frequently handle image preparation, consider tools and workflows that support safe conversion and consistent output.
For businesses managing large content libraries, image workflows are often part of a wider digital operations process. If your team needs support with website performance, asset management, automation, or platform development, OneCode Pulse can help build a more reliable system around it.
How to prevent blurry images in future projects
- Keep a high-resolution master file for every important asset.
- Match image dimensions to the intended display size.
- Resize proportionally unless a crop is required.
- Choose the right format before exporting.
- Compress only as much as needed.
- Test the image on the actual website or platform before publishing.
- Avoid re-saving the same lossy file repeatedly.
Following this process will not only reduce blur, but also improve consistency across website pages, ad creatives, newsletters, and app interfaces.
If your team is building a broader content or digital product workflow, related services such as website and e-commerce development and digital marketing and customer engagement can support a more polished, conversion-ready online presence.
Conclusion: how to keep images look blurry after resizing from happening
The main reason images look blurry after resizing is usually simple: the file was stretched beyond its available detail, compressed too heavily, or exported in the wrong format. By starting with a larger source, preserving aspect ratio, using the right dimensions, and testing the final display, you can keep images sharp across websites, social media, and email.
If your business needs help building a cleaner, faster, and more reliable image workflow as part of a wider digital system, OneCode Pulse can help.
Frequently Asked Questions
Why do images look blurry after resizing even when the original looked sharp?
The original may have been sharp at its native size, but resizing can expose limitations in resolution or force the software to invent pixels. Upscaling, aggressive compression, or display stretching can all reduce clarity.
Is it better to resize an image before or after compressing it?
Usually resize first, then compress. That way, you compress the final image dimensions instead of a larger file that will be scaled down later.
What is the best format for resized images on websites?
It depends on the image type. JPG often works well for photos, PNG is better for graphics and transparency, and WebP can be a strong modern option for web delivery.
Why does my image look fine in an editor but blurry on my website?
The website may be displaying it at a different size than the file’s actual dimensions, or CSS may be stretching it. Check the upload size, responsive settings, and layout rules.
Can I fix a blurry image after it has already been resized?
Sometimes, but only to a limited extent. If the source detail is gone, sharpening can help slightly, but the best fix is usually to re-export from a higher-resolution original.
Need help improving your image workflow?
Contact OneCode Pulse for a free consultation. We can help you build faster, cleaner digital experiences with the right website, content, and automation setup for your business.