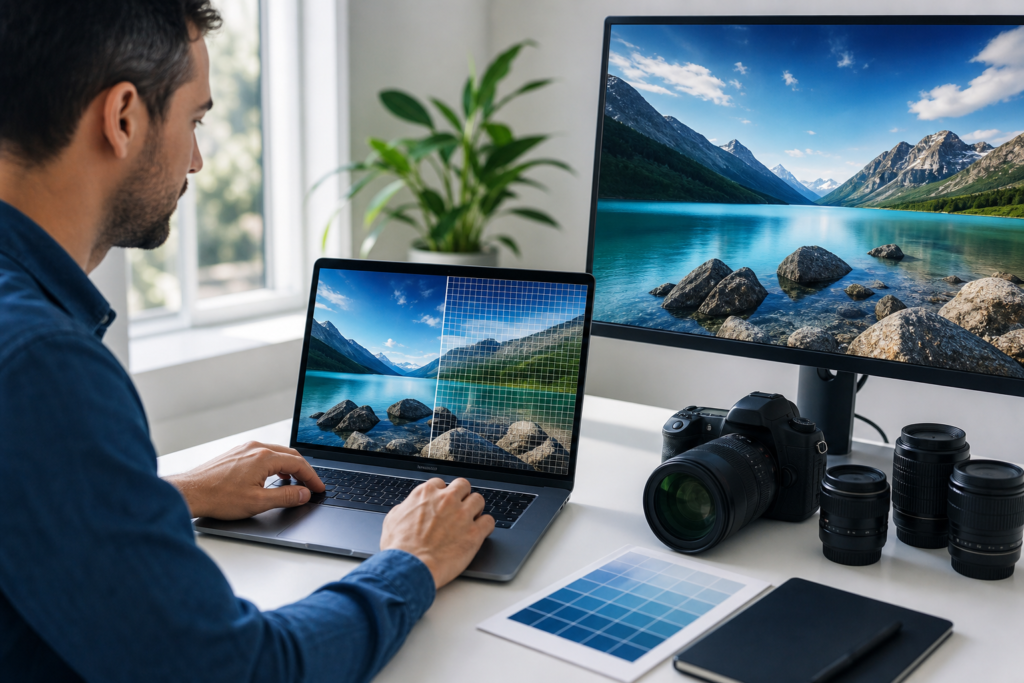
If you want a faster website, smaller uploads, and cleaner page performance, learning how to compress images without losing quality is one of the most useful skills you can develop. Images often make up a large share of a page’s total weight, which means even small improvements can help pages load faster and feel more polished.
A practical guide to compress images without losing quality
The good news is that image compression does not have to mean blurry photos or damaged design. With the right file format, dimensions, compression method, and export settings, you can reduce file size while keeping images sharp enough for modern screens. This guide explains the practical steps, the trade-offs to watch for, and when to use each approach.
What image compression actually does
Image compression reduces the amount of data needed to store or display an image. In simple terms, it removes unnecessary information or stores the image more efficiently. The goal is to keep the image visually similar while making the file lighter.
There are two main approaches:
- Lossless compression reduces file size without removing visual information. The image should look identical, though savings are often more modest.
- Lossy compression removes some data that the human eye is less likely to notice. This usually creates much smaller files, but too much compression can produce artifacts or softness.
For most website use cases, the best results come from combining smart resizing with moderate lossy compression. That keeps the image clean while reducing file size significantly.
Start with the right image dimensions
One of the most common mistakes is uploading an image that is much larger than needed. If your website displays an image at 1200 pixels wide, uploading a 4000-pixel version usually adds unnecessary weight without any visual benefit.
Before you compress, resize the image to the exact or near-exact dimensions required by its destination. This alone can cut file size dramatically and improve quality because the browser does not need to shrink an oversized file on the fly.
Practical resizing tips
- Match the image width to the maximum display size on the page.
- Use larger dimensions only when the image must be shown full-screen or zoomed.
- Avoid stretching smaller images upward, because that often hurts clarity more than compression itself.
If you need a simple way to prepare assets before export, a tool such as the image resizer can help you standardize dimensions before compressing the final file.
Choose the best format for the job
File format has a major effect on quality and size. The same image can behave very differently depending on whether you save it as JPG, PNG, WebP, or another format.
| Format | Best for | Notes |
|---|---|---|
| JPG/JPEG | Photos and complex images | Good balance of quality and size with lossy compression |
| PNG | Graphics, screenshots, transparency | Often larger than JPG, but supports sharp edges and transparency |
| WebP | Most web images | Often smaller than JPG or PNG at similar visual quality |
| AVIF | Advanced web optimization | Very efficient, but support and workflow should be checked carefully |
As a rule of thumb, use JPG for photographs, PNG for transparent graphics or crisp UI elements, and WebP when your platform and browser support allow it. For many websites, WebP offers an excellent balance between quality and file size.
Use compression settings that match the image type
Compression is not one-size-fits-all. The “best” setting depends on the content inside the image.
- Photos: Can usually tolerate moderate lossy compression because natural textures hide minor data loss well.
- Screenshots: Need more caution because text, icons, and interface edges can blur quickly.
- Logos and illustrations: Often benefit from PNG, SVG, or carefully compressed WebP, depending on the source.
When exporting photos, start with a moderate quality setting rather than the maximum. Then compare the visual result against the original at the size it will actually appear on the site. If the difference is not visible to the user, you can usually reduce the file further.
A simple quality check method
- Export one version at a moderate quality setting.
- Open it at the intended display size.
- Inspect edges, text, gradients, and shadow detail.
- Reduce quality gradually until you see a visible problem, then step back one level.
This approach is more reliable than blindly choosing “high” or “maximum,” which often creates bigger files than needed.
Avoid unnecessary quality loss during export
Many images become degraded not because of compression itself, but because they are saved, re-saved, or exported in a careless workflow. If you want to compress images without losing quality, protect the source file as much as possible.
- Keep a master file in a high-quality format.
- Export a web version separately instead of overwriting the original.
- Do not repeatedly compress the same file.
- Use the right color profile and avoid converting formats more than necessary.
This matters especially for teams working on product photos, blog images, or e-commerce assets. Repeated compression can create visible noise, banding, or softened details that are difficult to reverse.
Compress for the real device, not just the desktop
Images may look fine on a large monitor while still causing issues on mobile connections. Since many visitors browse on phones, your compression strategy should account for smaller screens and slower networks.
That does not mean making everything tiny. It means serving appropriately sized images and choosing the right level of detail for each use case. A hero banner may need a high-quality version, while a thumbnail or gallery preview can be much lighter.
Responsive image handling is especially important for content-heavy sites. If you are planning broader improvements to site structure and performance, it may also be worth reviewing website and e-commerce development best practices to make sure image handling fits the rest of the build.
Use compression tools that let you compare results
The best tools are not just the ones that shrink files the most. They are the ones that let you preview the result and control the trade-off between size and appearance.
Look for tools that offer:
- batch processing for multiple files
- format conversion
- quality sliders or presets
- preview comparisons
- metadata removal options
For many teams, a browser-based workflow is enough for everyday image preparation. OneCode Pulse also offers an online image compressor that can be useful when you need a quick, practical way to reduce file size before uploading.
Don’t forget metadata and extra weight
Images often carry extra information such as camera data, location details, and other metadata. In some cases, that information is unnecessary for the web version of the file.
Removing unused metadata can reduce file size a little more, which is especially useful when you are working with many images at once. While this will not replace proper resizing or format selection, it can support a cleaner overall optimization workflow.
Common mistakes to avoid
Even with the best intentions, image optimization can go wrong. The following issues are among the most common:
- Uploading oversized files: Large images are often slowed down by the browser before they are even displayed.
- Using the wrong format: A screenshot saved as JPG may look worse than a PNG or WebP version.
- Over-compressing text-heavy images: Small artifacts can make text look blurry or hard to read.
- Compressing before resizing: You may preserve more detail than needed and end up with a larger file.
- Ignoring page context: A gallery image, a hero image, and a thumbnail should not all be treated the same way.
If you are optimizing a site for search and user experience, image work should be part of a broader performance plan. Pages that load faster usually feel more trustworthy and easier to use, which supports content engagement and conversion. That’s why image optimization often fits naturally alongside SEO and digital visibility improvements.
A practical workflow for better results
If you want a repeatable process, use this sequence for each image:
- Identify the actual display size.
- Choose the best format for the content.
- Resize the image to fit the layout.
- Export with moderate compression.
- Compare the output against the original.
- Adjust until file size is lower and quality still looks clean.
This process works for blog graphics, product photos, landing pages, and many other content types. It is also easy to standardize across a team, which helps keep quality consistent.
When to use professional support
For a few images, manual optimization is manageable. But for larger websites, e-commerce catalogs, or apps with heavy media usage, image handling can become a meaningful performance issue. In those cases, professional support can help you define the right formats, compression rules, delivery strategy, and workflow.
OneCode Pulse helps businesses build secure, scalable, high-performance digital experiences, so image optimization can be handled as part of a larger website, SEO, or platform strategy rather than as a one-off task.
Conclusion: how to compress images without losing quality
The most effective way to compress images without losing quality is to combine smart resizing, the right file format, and moderate compression settings. When you optimize for the real display size and test the result visually, you can reduce file weight without harming the user experience.
If you want help applying these practices across a website, product catalog, or digital platform, OneCode Pulse can support you with a practical optimization plan tailored to your goals.
Frequently Asked Questions
What is the safest way to compress images without losing quality?
Start by resizing the image to its true display dimensions, then export it in the most suitable format with moderate compression. Always compare the output against the original at the final display size.
Is WebP always better than JPG or PNG?
Not always. WebP is often smaller at similar quality, but JPG can still be a good choice for photos and PNG may be better for transparency, screenshots, or sharp graphics.
Does compressing an image reduce SEO performance?
Usually the opposite. Well-optimized images can help pages load faster, which improves usability and can support better overall site performance.
Should I compress images before uploading them to my website?
Yes, in most cases. Preparing the right size and format before upload gives you more control and helps you avoid relying only on server-side optimization.
Can I compress screenshots without making text blurry?
Yes, but use caution. Screenshots often need less aggressive compression than photos because text and interface edges can degrade quickly.
Get a free consultation from OneCode Pulse
Need help building a faster, cleaner, more efficient website? OneCode Pulse can review your image workflow and recommend the right optimization approach for your site or platform. Book a free consultation today.